The reason Amazon's Kindle has become so popular over the past several years is due to the amount of digital books one can fit inside—over 1,000 for the smallest Kindle. Gone are the days of lugging around heavy books to school and the airport. Instead we can fit our e-readers snugly inside our bags and never worry about forgetting a book.
What we do have to worry about, though, is dropping the darn thing.
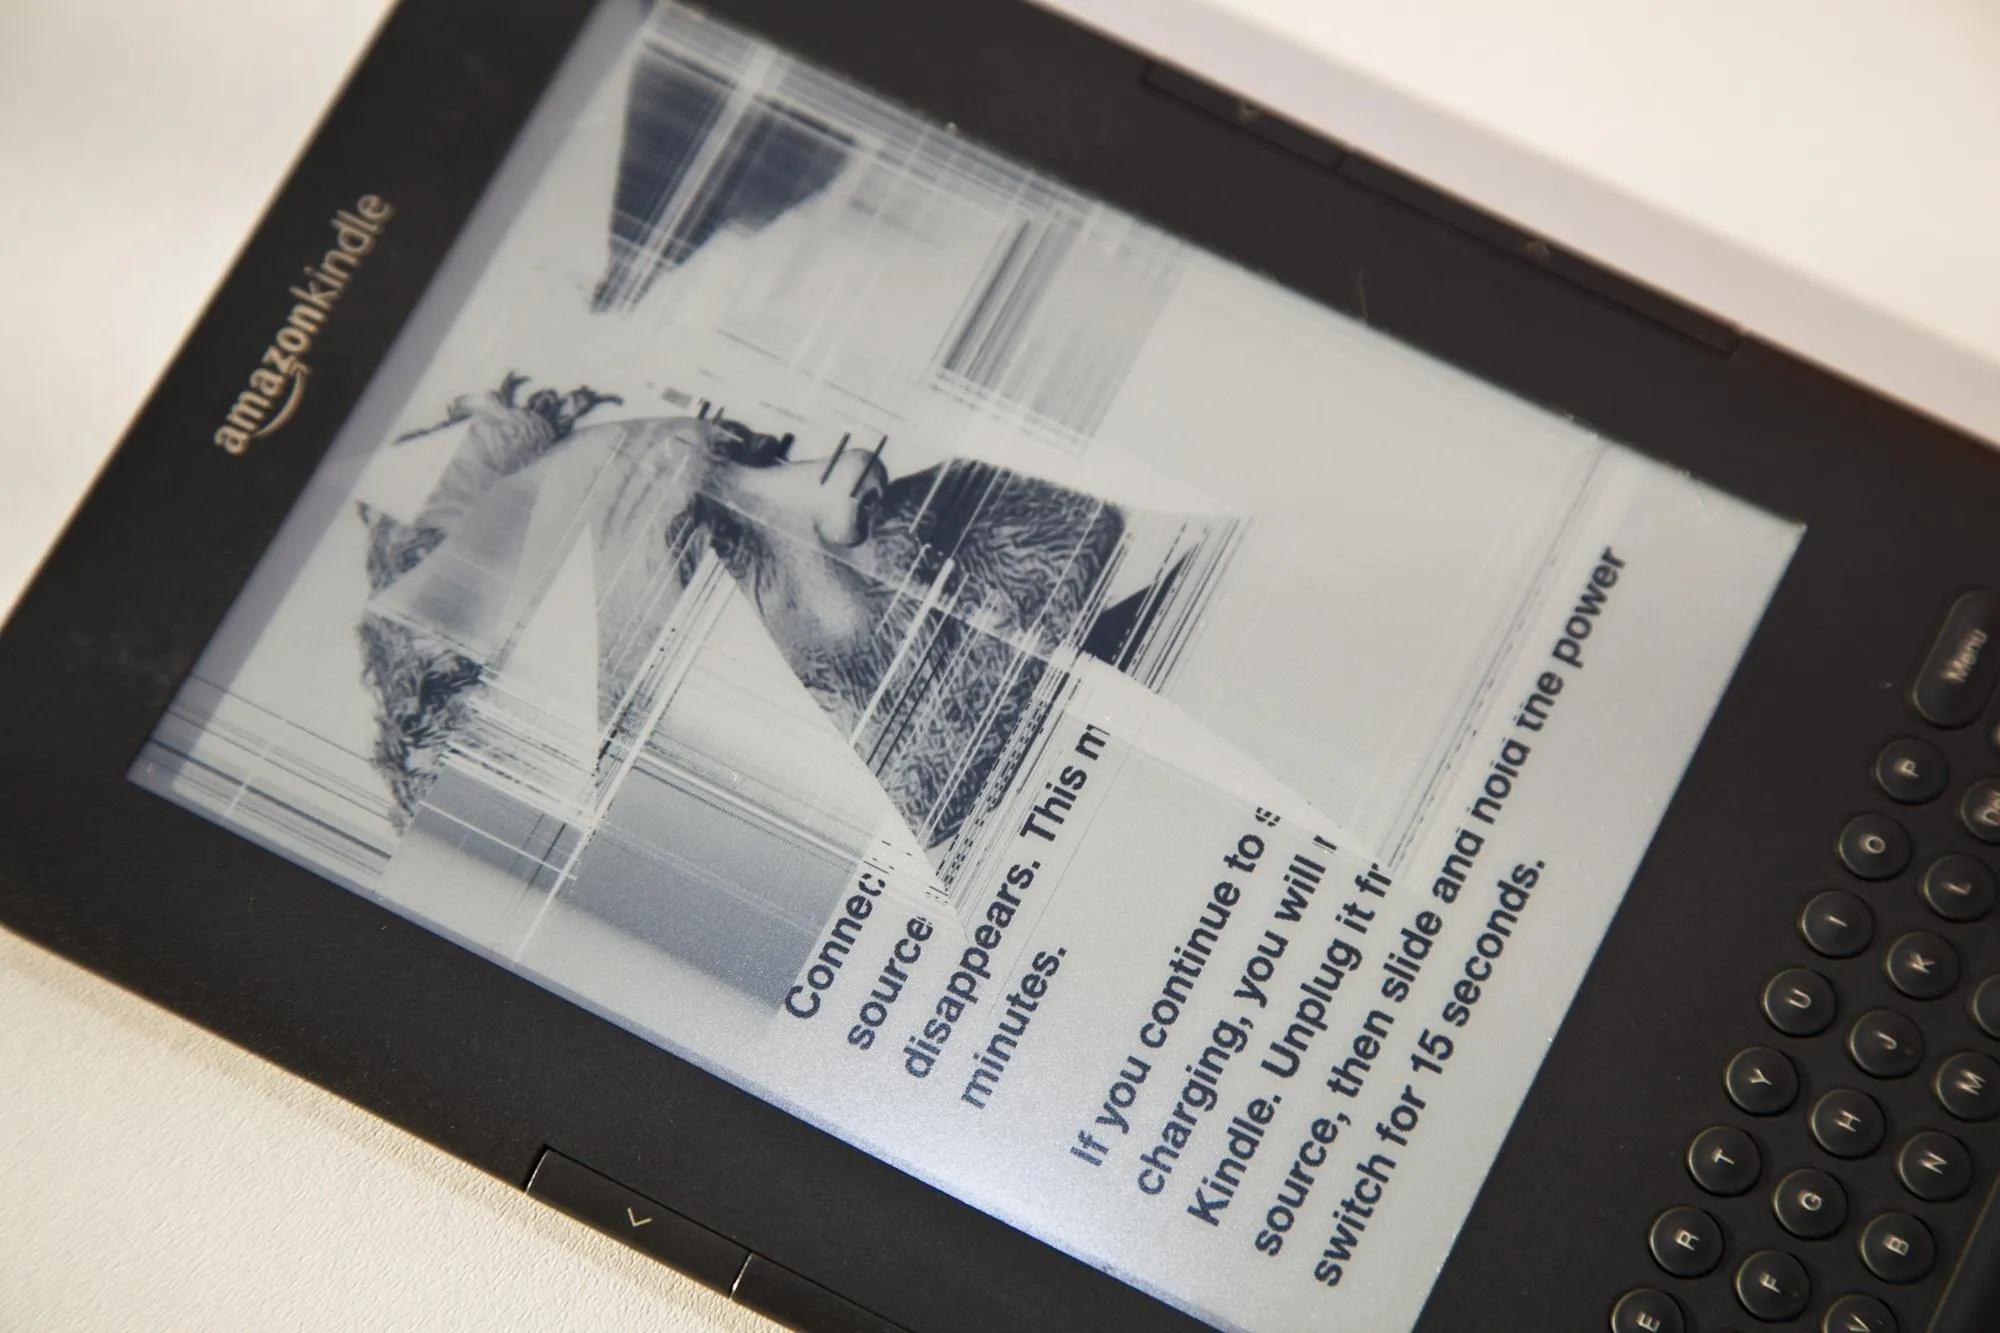
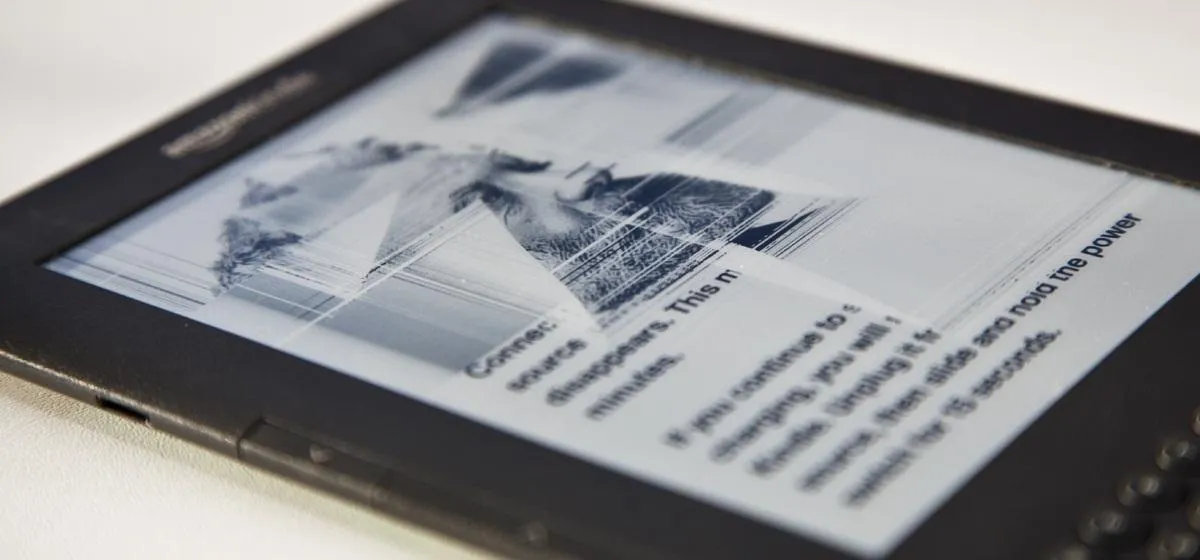
Your precious Kindle is not only susceptible to fall damage, but also to software malfunctions that can cause frozen screens or lines to appear all over the E Ink display. Your display is pretty much useless whenever any of these things happen.
Amazon will only replace them a few times for free (until your warranty runs out) before they tell you've got a buy a refurbished or completely new one. I know one person who's screen looked like this four times in less than a year.

But, it can be expensive to buy a whole new Kindle, so why not just replace the damaged screen yourself?!?
Replacing Your Kindle's Fractured Display
In order to replace the screen yourself, you'll first need the proper tools:
- Replacement E Ink screen (you can find one online for less than $50)
- Set of electronic screwdrivers, both flat and Phillips head
- Plastic spudger
You'll then have to pry off the rear cover, remove the battery, disconnect the wires/cables connecting the old screen and keyboard, remove the memory card, logic board and midboard, and replace the screen. Check out PowerMedic's video for a step-by-step walkthrough:
Instructables user ghwhitcher tried out the video guide above when he was replacing his Kindle's shattered screen, and wrote out his own step-by-step picture guide for the process, so make sure to check that out too, if you're not much for videos.
Once the screen is replaced, the whole process of putting it back together should be easier. Ghwhitcher also had a few pointers when putting it all back together.
- Don't forget the keyboard!
- Don't forget the volume rocker!
- Don't forget the on/off slide switch!
- When you put the midboard back onto the screen, BE CAREFUL. Be delicate or it could crack the screen, I can't emphasize this enough or the whole repair will be botched.
- Before you screw down the midboard, make sure the cables are sticking up and clear of their respective holes in the midboard or you won't be able to connect them later.
- The lock bars can be replaced onto each of the cables.
Have you tried replacing your Kindle's screen yourself? Tell us how it went!


Comments
No Comments Exist
Be the first, drop a comment!